The ballet bun is a very important part of ballet – it is much more than “just a bun.” Read why.
The ballet bun holds a special place in the world of ballet, transcending its status as a simple hairstyle. It plays a crucial role in both appearance and functionality, and mastering the art of creating the perfect ballet bun is essential. To help everyone achieve this, our Ballet Mistress at Charleston Dance Center has prepared a tutorial to guide you through the process.
Here is a Step-By-Step Breakdown:
1. Gather Your Supplies: The 4 Hs
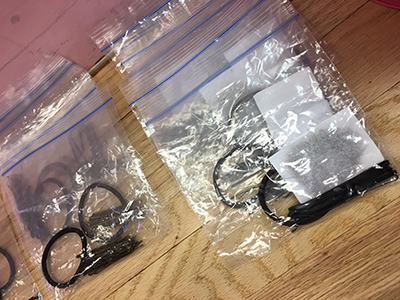
Start with the essential tools: hair ties, hair pins, hair nets, and hair spray.
Did you know that Ms. Andrea conveniently offers these kits for less than $1? She always keeps them on hand in case any dancer forgets something crucial.
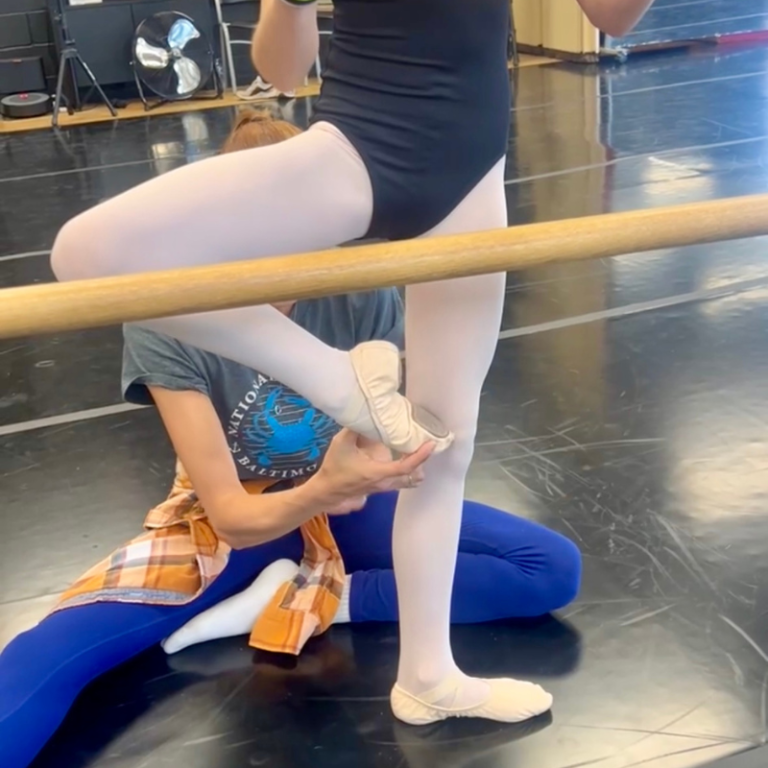
2. Create a Secure Ponytail at the Crown
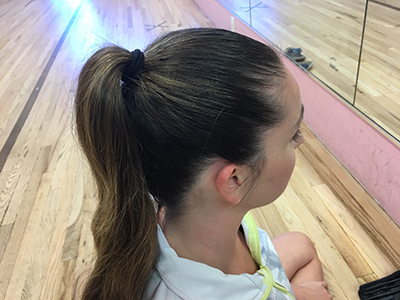
Make sure the ponytail is firm to provide a solid foundation for your ballet bun. A light spray of hair spray before you begin will help everything stay in place.
*Pro Tip: For those with thick hair, using two hair ties simultaneously provides a better hold.
3. Twist and Wrap Hair Around the Ponytail
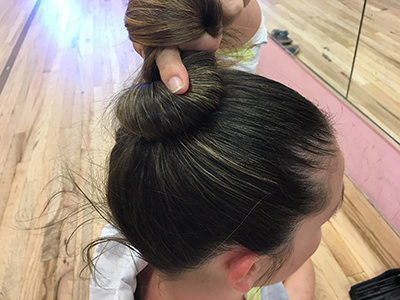
As you wrap the hair around the bun, remember to pin it in place as you go. Avoid wrapping all the hair first and then pinning, as this leads to a “doorknob bun”, which is not the desired look.
4. Proper Pin Placement
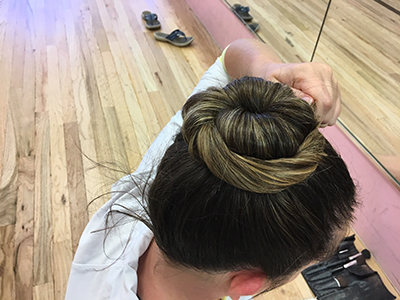
Start by pushing the hairpin out from the center of the bun, grabbing some hair, and then pushing the pin back under the bun toward the center. This technique ensures a secure hold. Continue pinning all the way around the bun.
*Pro Tip: When dealing with a “second layer” of the bun, keep the new layer outside of the first layer to prevent the doorknob bun.
Tuck any loose ends into the bun and pin them securely.
5. Adding the Hair Net
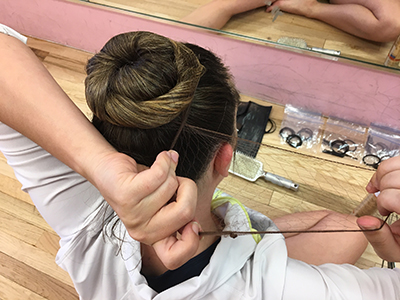
Despite their resemblance to lunch lady hair nets, hair nets are a key component. Open up the hairnet and place it around the bun. Pull the net to one side, twist it, and wrap it around the bun again. Take the remaining part of the net and secure it with the rest of your hair.
*Pro Tip: Remove the hairpins from the bun before applying the hair net to avoid creating holes in the net.
6. Taming the Wispies

For any stray wispies in the back, pull them up, twist them, and secure them with two hairpins in an “X” formation. If you have wispies near the front, try using water and a comb. If that doesn’t work, an eyebrow brush can be quite effective.
Mastering the art of creating a flawless ballet bun ensures that you’re not just putting your hair in place, but you’re contributing to the elegance and professionalism that ballet demands. Happy dancing!